Preparing the Document for Scanning
Removing Staples and Paper Clips
Before scanning a document, it is crucial to remove any staples and paper clips. These metal items can cause damage to the scanner's glass bed and potentially lead to costly repairs. Ensure that all metal fasteners are carefully detached to preserve the integrity of both the document and the scanner.
- Inspect each page for staples or paper clips.
- Use a staple remover or your fingers to gently take out any staples.
- Slide paper clips off the edges without tearing the paper.
If you do not own a scanner and need to scan documents regularly, consider the option to rent a printer with scanning capabilities. This can be a cost-effective solution for short-term needs or for those who do not wish to invest in a personal device.
It is also a good practice to check for smaller or less noticeable fasteners, such as binder clips or adhesive tape, which should also be removed to ensure a smooth scanning process.
Organizing Multiple Pages
When preparing to scan a document with multiple pages, organization is key. Ensure that all pages are in the correct order and oriented in the same direction. This will facilitate a smooth scanning process and prevent any confusion when accessing the digital files later on.
- Start by aligning the edges of all pages.
- Check the page numbers, if available, to confirm the sequence.
- Group related pages together to maintain the structure of the document.
Proper organization is crucial, especially if you're considering to rent a printer for a short-term project or office need. A well-organized document will save time and reduce the risk of scanning pages in the wrong order, which can be a tedious mistake to rectify.
Remember, the goal is to create a digital copy that is as close to the original as possible. Taking the time to organize your documents beforehand will ensure a more efficient scanning process and a better end result.
Checking for Any Tears or Folds
Before proceeding to scan your document, it is crucial to ensure that the paper is in good condition. Check for any tears, folds, or creases that might affect the quality of the scanned image. If you find any, carefully flatten out the folds and repair minor tears with transparent tape, making sure it does not obstruct any text or important content.
Rent a printer services often provide equipment that can handle a variety of document conditions, but for the best results, presenting the document as flat and smooth as possible is recommended. This attention to detail will save time in post-scanning editing and provide a more professional-looking scanned document.
Proper preparation of your document can significantly enhance the clarity and readability of the scanned output. Taking a few moments to address any physical imperfections can make a substantial difference.
Setting Up the Printer for Scanning
Turning On the Printer
Before initiating the scanning process, ensure that the printer is properly connected to a power source and switched on. This might seem like a basic step, but it is crucial for the functionality of the device. If you do not own a printer, consider the option to rent a printer which can be a cost-effective solution for occasional scanning needs.
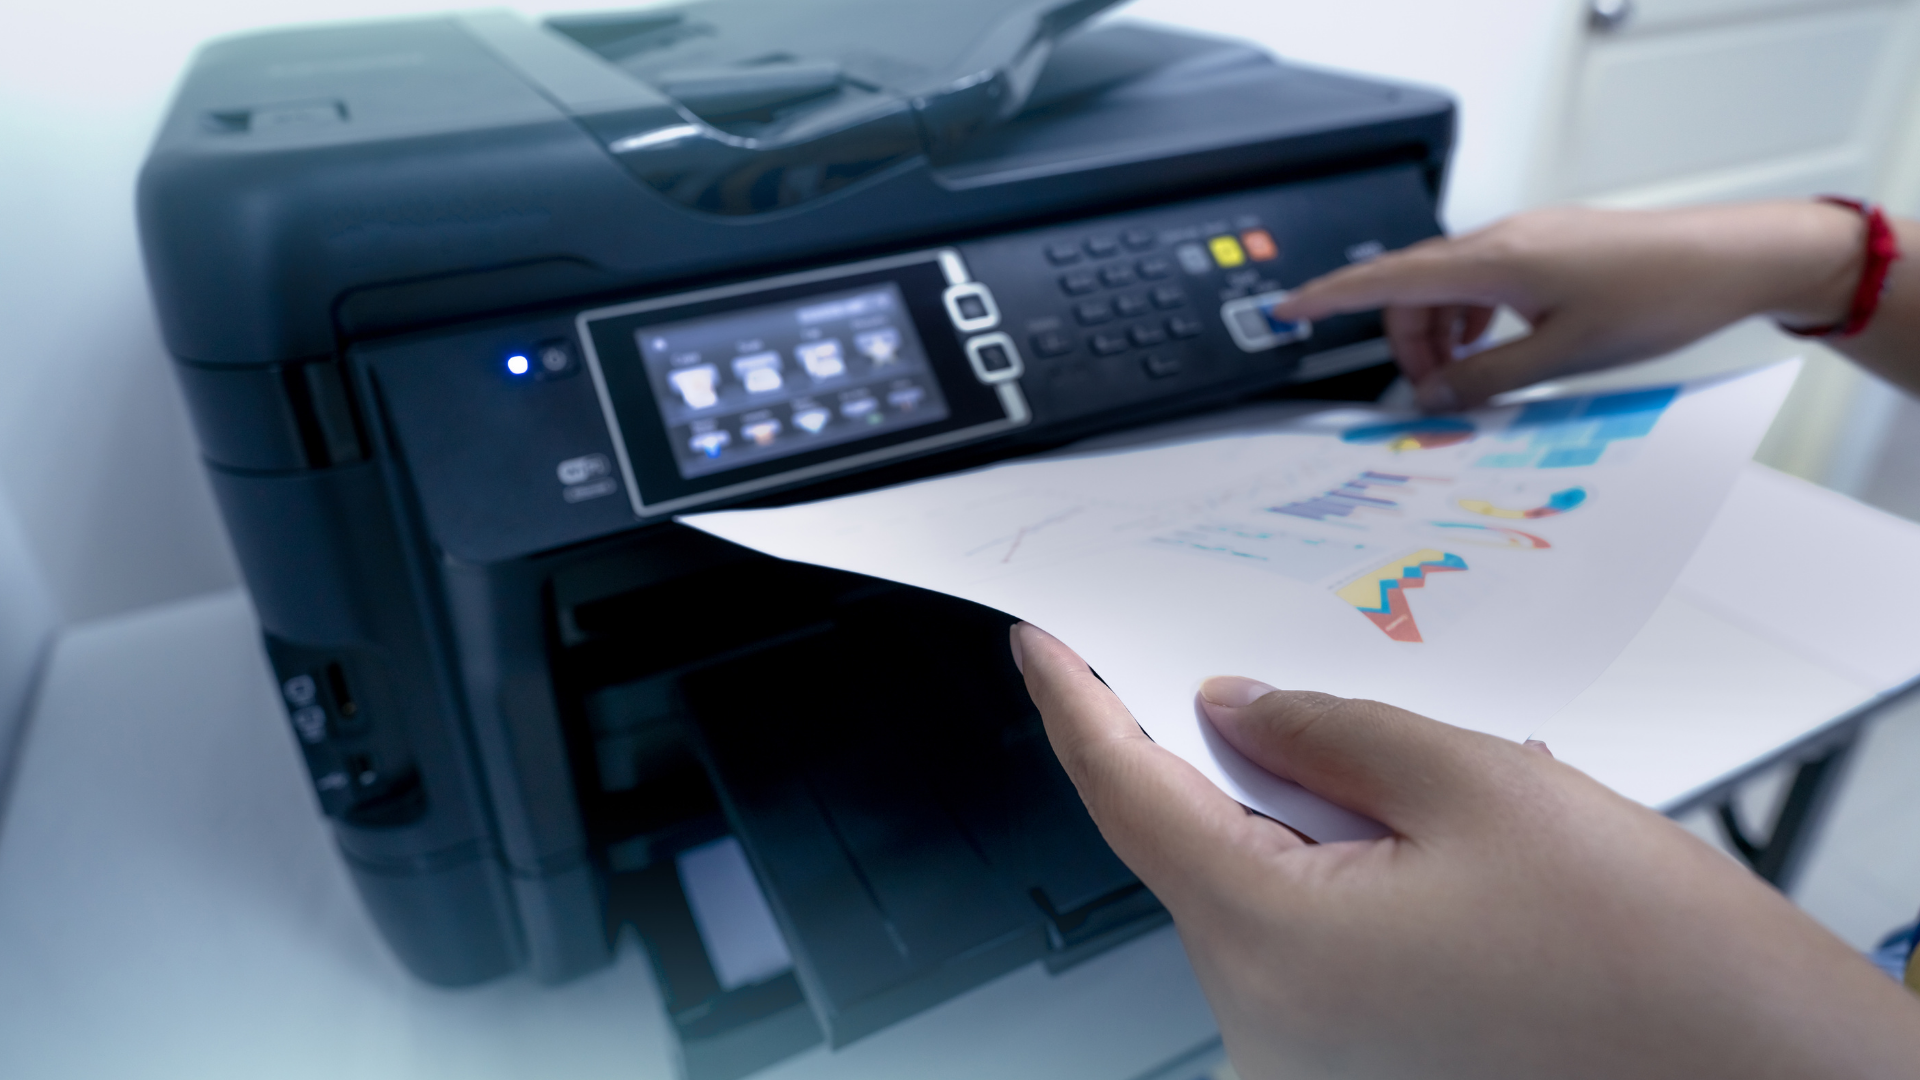
Locate the power button, usually found on the front or side of the printer, and press it to turn on the machine. You should see indicator lights or a display screen that confirms the printer is powered up and ready for operation.
Ensure that the printer has warmed up and is not displaying any error messages before proceeding to the next steps. This will help avoid any interruptions during the scanning process.
Adjusting the Settings
Once the printer is powered on, it's crucial to adjust the settings to match the specific requirements of your document. This step ensures that the scanned output meets your expectations in terms of quality and format. Navigate through the printer's menu to find the scanning options, which typically include document type, color preferences, and file destination.
- Select the document type that corresponds to what you are scanning, such as text, photo, or a combination of both.
- Choose color settings based on whether your document is in black and white or color.
- Specify the file destination if you want the scanned document to be sent to a connected computer, email, or network folder.
Adjusting the settings appropriately can make a significant difference in the scanned document's clarity and usability. It's a step that should not be overlooked, especially if you rent a printer and are not familiar with its specific features and capabilities.
Selecting the Scanning Mode
Once the printer is ready for scanning, it's crucial to select the appropriate scanning mode to ensure the best quality for your document. Most printers offer a variety of modes tailored to different types of documents, such as text, photographs, or detailed graphics.
- Choose 'Document' mode for text-heavy pages to enhance readability.
- Select 'Photo' mode when scanning images to capture fine details.
- Opt for 'Custom' settings if you need to adjust color, brightness, or contrast manually.
It's important to consider the intended use of the scanned document when selecting the mode. For instance, if you need to rent a printer for a one-time event or project, ensure that you familiarize yourself with the scanning modes it offers. This will help you achieve the desired outcome without the need for extensive post-scan editing.
Remember, the right scanning mode not only improves the quality of the scanned document but also saves time by reducing the need for further adjustments.
Scanning the Document
Placing the Document on the Scanner Bed
Once the document is prepared and the printer is set for scanning, the next step is to place the document correctly on the scanner bed. Ensure that the document is aligned with the indicated markers on the scanner bed to avoid skewed or incomplete scans. This is particularly important if you rent a printer and are not familiar with its specific layout.
- Lift the scanner lid carefully.
- Place the document face-down on the glass.
- Align it according to the guides.
Proper placement is crucial for a high-quality scan. Make sure the document lies flat against the glass with no air bubbles or creases that could distort the image.
After placing the document, gently lower the scanner lid to secure the document in place. This will help prevent any movement that could affect the scan quality. Remember to handle the document and the printer with care, especially if it is a rental unit, as damages could incur additional costs.
Choosing the File Format
Once the document is properly placed on the scanner bed, the next crucial step is to select the appropriate file format. This choice largely depends on how you intend to use the scanned document. Common formats include PDF for documents, JPEG for images, and TIFF for high-quality prints. If you're unsure which format suits your needs, consider the following:
- PDF is widely used for its compatibility across various devices and platforms.
- JPEG is best for images due to its compressed size, making it easy to share via email.
- TIFF offers the highest quality, ideal for archiving or when you need to rent a printer for reproducing the document.
It's important to select the right file format to ensure the scanned document meets your requirements and is easily accessible for future use.
Adjusting the Resolution
The resolution of a scanned document determines the clarity and detail of the final image. For text documents, a resolution of 300 dpi (dots per inch) is typically sufficient. However, if you are scanning photographs or detailed graphics, a higher resolution, such as 600 dpi or more, may be necessary.
Choose the appropriate resolution based on the intended use of the scanned document. Keep in mind that higher resolutions result in larger file sizes, which can be an important consideration if storage space is limited or if the document needs to be shared electronically.
- For text documents, select 300 dpi.
- For images or detailed graphics, select 600 dpi or higher.
If you frequently need to scan documents at high resolutions, it may be more cost-effective to rent a printer with advanced scanning capabilities rather than purchasing one. This can be especially beneficial for businesses or individuals who require high-quality scans but do not scan documents regularly.
Adjusting the resolution is a critical step in ensuring that the scanned document meets your quality requirements. Take the time to experiment with different settings to find the optimal resolution for your needs.
Reviewing and Saving the Scanned Document
Previewing the Scanned Image
After scanning your document, it's crucial to preview the scanned image. This step ensures that the entire document is captured accurately and is free of any distortions or omissions. Carefully examine the clarity and legibility of the text or images before proceeding to save the file.
Rent a printer services often provide equipment with advanced features that allow for a detailed preview, making it easier to spot any errors. If you notice any issues, you can rescan the document after making the necessary adjustments.
- Check for proper alignment and orientation
- Look for any unexpected shadows or lines
- Ensure that color reproduction is faithful to the original
Remember, taking the time to review the scanned image can save you from future inconveniences, especially if the document is of significant importance.
Naming the File
After ensuring the quality of your scanned document, the next crucial step is to give it an appropriate name. Choose a file name that clearly reflects the content of the document or follows a specific naming convention if you're scanning documents for business purposes. This will facilitate easy retrieval and organization of your files.
- Consider including the date in the file name for version control.
- Use underscores or hyphens to separate words for better readability.
- Avoid using spaces and special characters that might not be recognized by all operating systems.
If you frequently need to scan documents, you might want to rent a printer with advanced scanning capabilities to streamline your workflow. This can be especially beneficial for businesses that handle a high volume of paperwork but do not wish to invest in purchasing a printer outright.
Remember, a well-named file saves time when searching for documents later on. It's a simple yet effective step in maintaining digital organization.
Selecting the Save Location
Once you have named your file, the next step is to select a save location that is easily accessible for future reference. This could be a folder on your computer, a connected cloud service, or an external storage device. Ensure that the chosen location has sufficient space to store your scanned documents.
- Choose a location that is secure and backed up regularly to prevent data loss.
- Consider organizing your files into folders by date or category for easy retrieval.
- If you frequently scan documents, creating a dedicated scanning folder may streamline your workflow.
For businesses or individuals who do not own a printer with scanning capabilities, the option to rent a printer can be a cost-effective and convenient solution. Renting allows access to high-quality equipment without the upfront investment, and it often includes maintenance and support.
Remember to verify that the save location is properly synced if you are using cloud storage, to ensure that your scanned documents are updated across all your devices.


