In today’s fast-paced world, convenience is key, and the ability to print directly from your phone is a game-changer for personal and professional tasks. Canon printers are widely known for their reliability and ease of use, and with modern advancements, connecting them to your smartphone has become a straightforward process. Whether you're looking to print photos, documents, or emails, learning how to connect your Canon printer to your phone can save you time and streamline your workflow. This blog will walk you through the steps to connect your Canon printer to your phone, ensuring you can easily print from wherever you are.
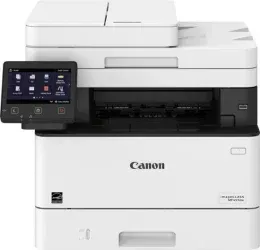
Step 1: Ensure Your Canon Printer is Compatible
Before you start, it's essential to ensure that your
Canon printer is compatible with mobile printing. Most newer Canon models, particularly those that are part of the PIXMA, SELPHY, or imageCLASS series, come with built-in Wi-Fi and support for mobile printing through apps like Canon PRINT Inkjet/SELPHY or Apple AirPrint for iOS devices. Check your printer’s manual or specifications to confirm it supports mobile printing. If you’re unsure, you can search for "printer repair near me" or contact
managed print services for assistance in verifying compatibility.
Step 2: Download the Canon PRINT App
Once you've confirmed that your printer is compatible, the next step is to download the Canon PRINT app on your smartphone. This app is available for iOS and Android devices and is designed to make printing from your phone as simple as possible. Here’s how to download the app:
- Open the App Store on your iPhone or the Google Play Store on your Android phone.
- Search for Canon PRINT Inkjet/SELPHY in the search bar.
- Tap Install and wait for the app to download and install.
Once the app is installed, you can easily connect your phone to your Canon printer.
Step 3: Connect Your Canon Printer to Wi-Fi
Both devices need to be on the same Wi-Fi network to connect your Canon printer to your phone. Here's how to connect your Canon printer to Wi-Fi:
- Turn on your Canon printer and ensure it is within range of your Wi-Fi router.
- Press the Wi-Fi button on the printer until the Wi-Fi light starts blinking.
- On the printer's control panel, navigate to Wireless LAN Setup.
- Select Standard Setup, then choose your Wi-Fi network from the list.
- Enter your Wi-Fi password when prompted.
Once your printer connects to Wi-Fi, the Wi-Fi light will remain steady, indicating a successful connection. If you encounter any issues during this step, searching for "printer repair near me" or contacting managed print services could provide valuable assistance.
Step 4: Connect Your Phone to Your Canon Printer
Now that your phone and printer are connected to the same Wi-Fi network, you’re ready to pair them. Follow these steps:
- Open the Canon PRINT app on your phone.
- When prompted, allow the app to access your location and connect to devices on your network.
- Tap the Add Printer button, and the app will search for available Canon printers on the Wi-Fi network.
- Once your printer appears in the list, select it to pair your phone with the printer.
After connecting, the Canon PRINT app will allow you to control your printer from your phone. You can now print, scan, and even check ink levels directly from the app.
Step 5: Print from Your Phone
With your Canon printer successfully connected to your phone, you can begin printing documents, photos, and more. Here’s how to print from your phone using the Canon PRINT app:
- Open the Canon PRINT app and select the print job type (e.g., document print, photo print).
- You can print the file from your phone’s storage or cloud services like Google Drive or iCloud.
- You can adjust any print settings (such as paper size, color options, and the number of copies) as needed.
- Tap Print to send the job to your Canon printer.
If you’re using an iPhone, you can also use Apple AirPrint for direct printing. Open the document or photo, tap the Share icon, select Print, and choose your Canon printer from the list.
Step 6: Troubleshooting Common Issues
While connecting your Canon printer to your phone is usually a seamless process, you may occasionally encounter issues. Here are some common problems and how to resolve them:
- Printer Not Detected by App: Ensure your phone and printer are connected to the same Wi-Fi network. If the printer isn’t showing up, try restarting both devices and re-opening the Canon PRINT app.
- Wi-Fi Connectivity Issues: If your Canon printer has trouble connecting to your Wi-Fi network, double-check that your network is functioning correctly. If necessary, move your printer closer to the router.
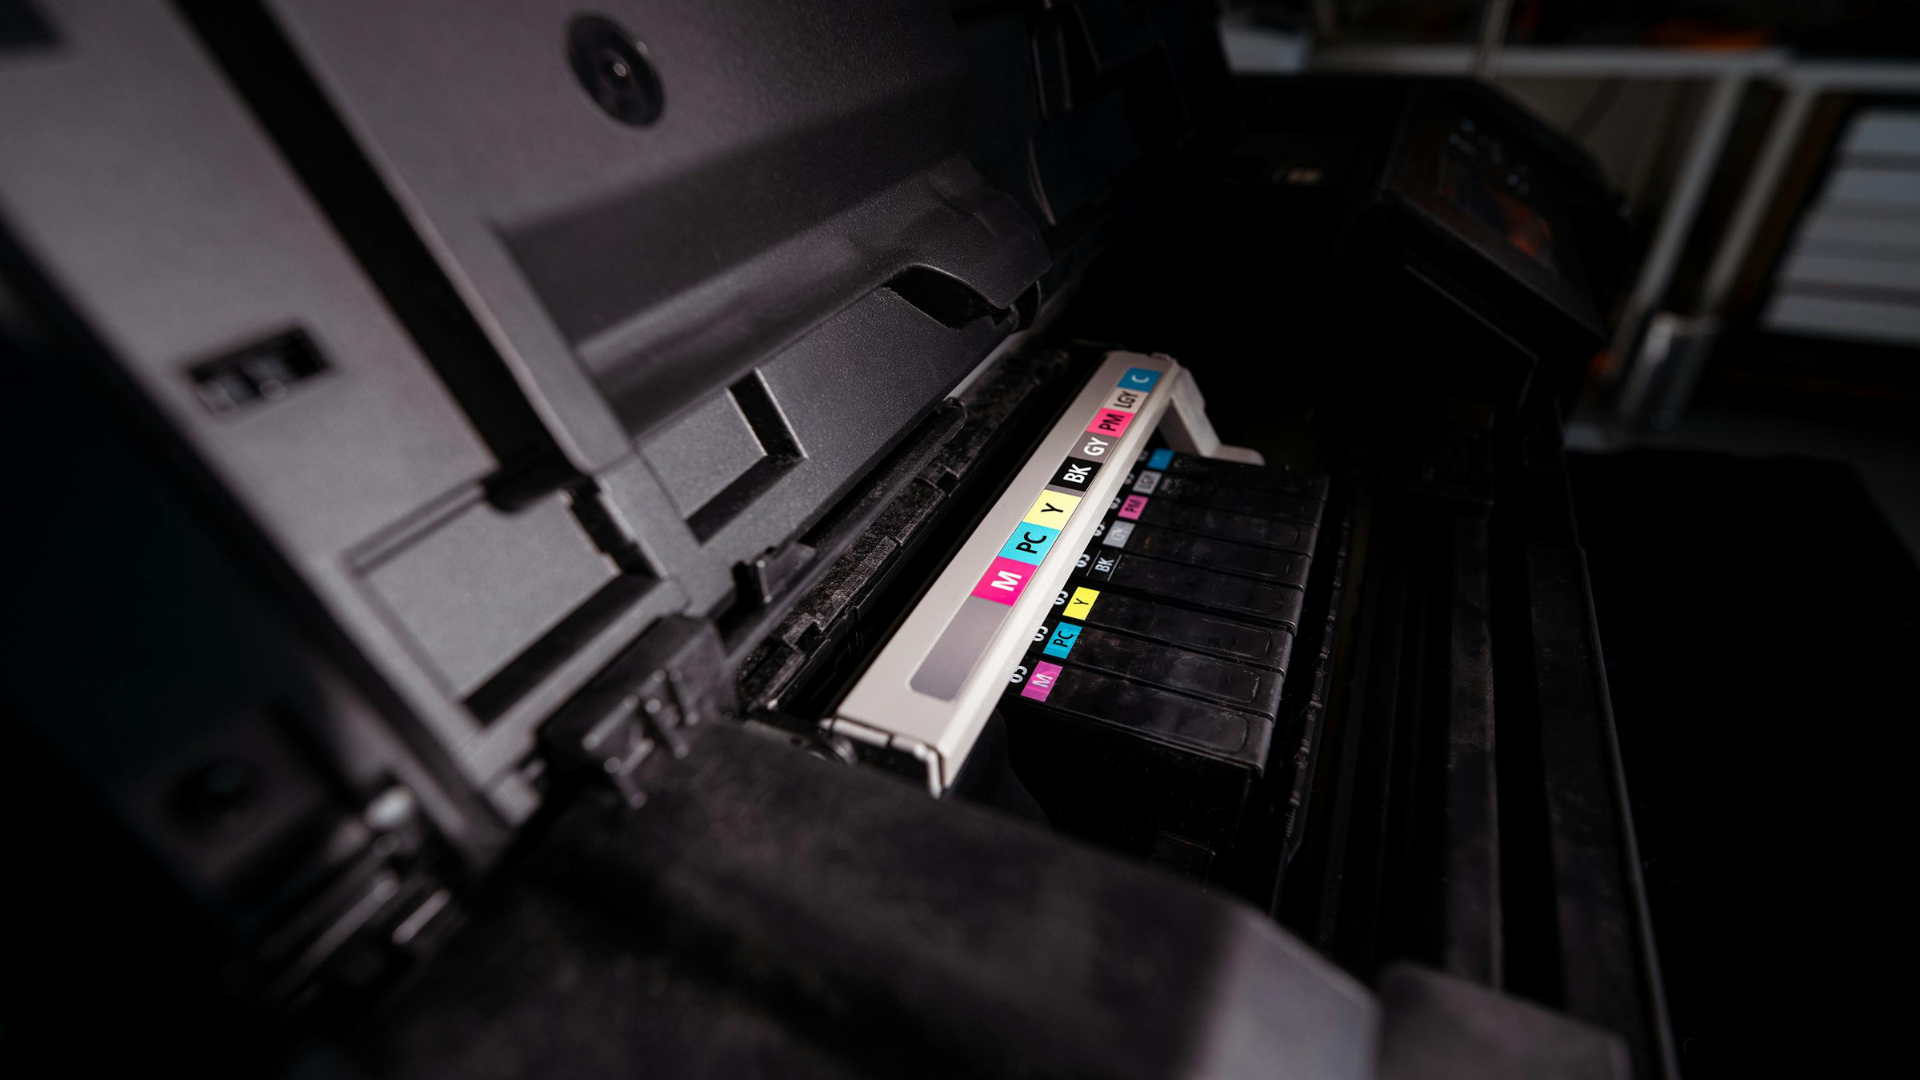
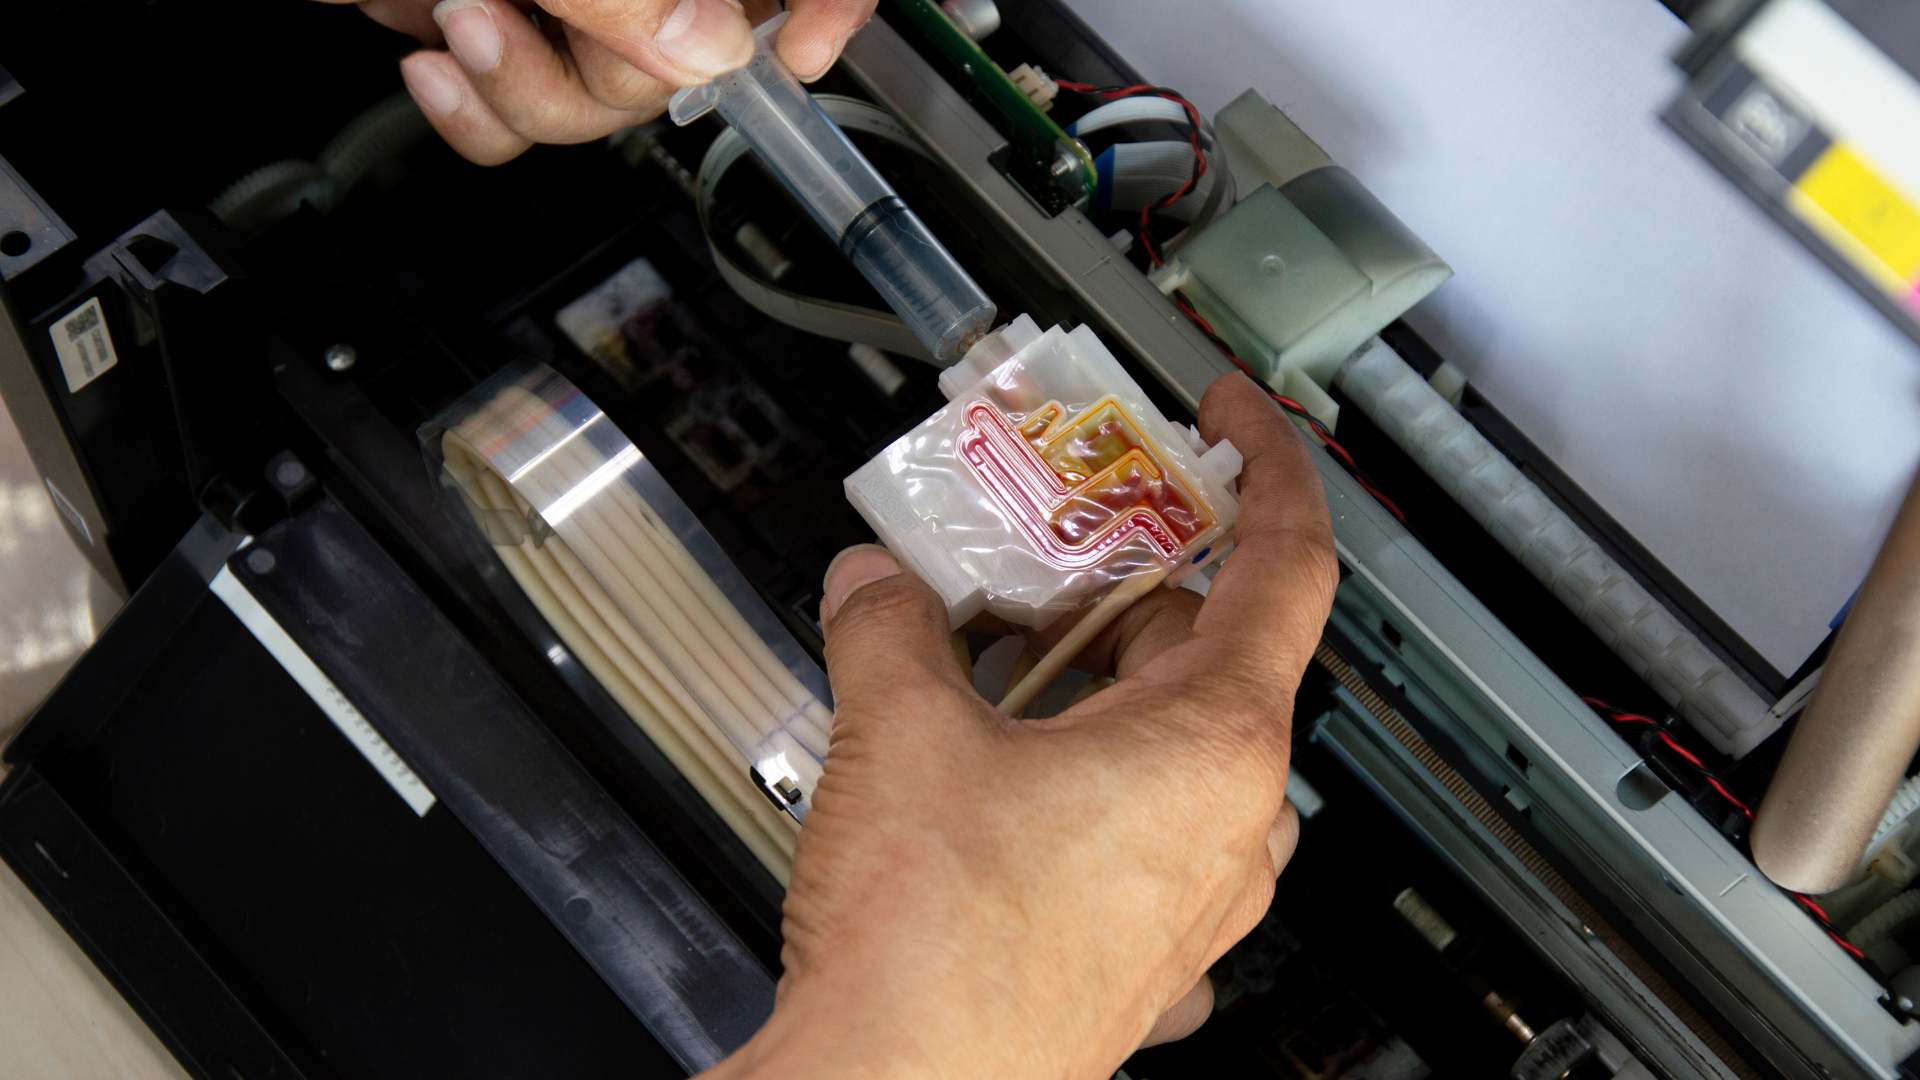
- Printing Errors or Low Quality: Ensure your printer’s firmware is up-to-date. If you experience print quality issues, check the ink levels and perform a cleaning cycle through the Canon PRINT app.
For more complicated problems, consider contacting a local service by searching for "printer repair near me," or consulting managed print services to help diagnose and fix the issue.
Conclusion
Connecting your Canon printer to your phone can simplify your printing tasks, allowing you to print directly from your mobile device. By following these steps, you can quickly set up your Canon printer and start printing in no time. Whether printing essential documents for work or cherished photos for your collection, the Canon PRINT app makes the process quick and user-friendly.
If you encounter any issues or need further assistance, don't hesitate to seek help from managed print services or search for "printer repair near me." With the right support, you can keep your printer functioning smoothly and ensure a hassle-free printing experience.
Frequently Asked Questions
Can I connect any Canon printer to my phone?
Not all Canon printers are compatible with mobile printing. Most newer models, especially those in the PIXMA, SELPHY, or imageCLASS series, support mobile printing via the Canon PRINT app. Check your printer’s manual or specifications to confirm compatibility.
Do I need Wi-Fi to connect my phone to my Canon printer?
Yes, for wireless printing, both your phone and printer need to be connected to the same Wi-Fi network. If your printer doesn’t have Wi-Fi capabilities, you may need to use a USB connection or explore other printing methods.
What if my printer isn’t appearing in the Canon PRINT app?
Ensure that your phone and printer are connected to the same Wi-Fi network and that the printer is powered on. If the problem persists, try restarting both devices or reinstalling the app.
Can I use my Canon printer with other mobile apps besides Canon PRINT?
Yes, depending on your printer model, you can use other apps like Apple AirPrint for iOS devices or Google Cloud Print for Android devices. These apps allow you to print directly from your phone without using the Canon PRINT app.
How do I update my Canon printer’s firmware?
You can update your Canon printer’s firmware through the Canon PRINT app or by visiting Canon’s official website and downloading the latest firmware for your specific printer model.
Contact Us
Most Popular
Recommended For You