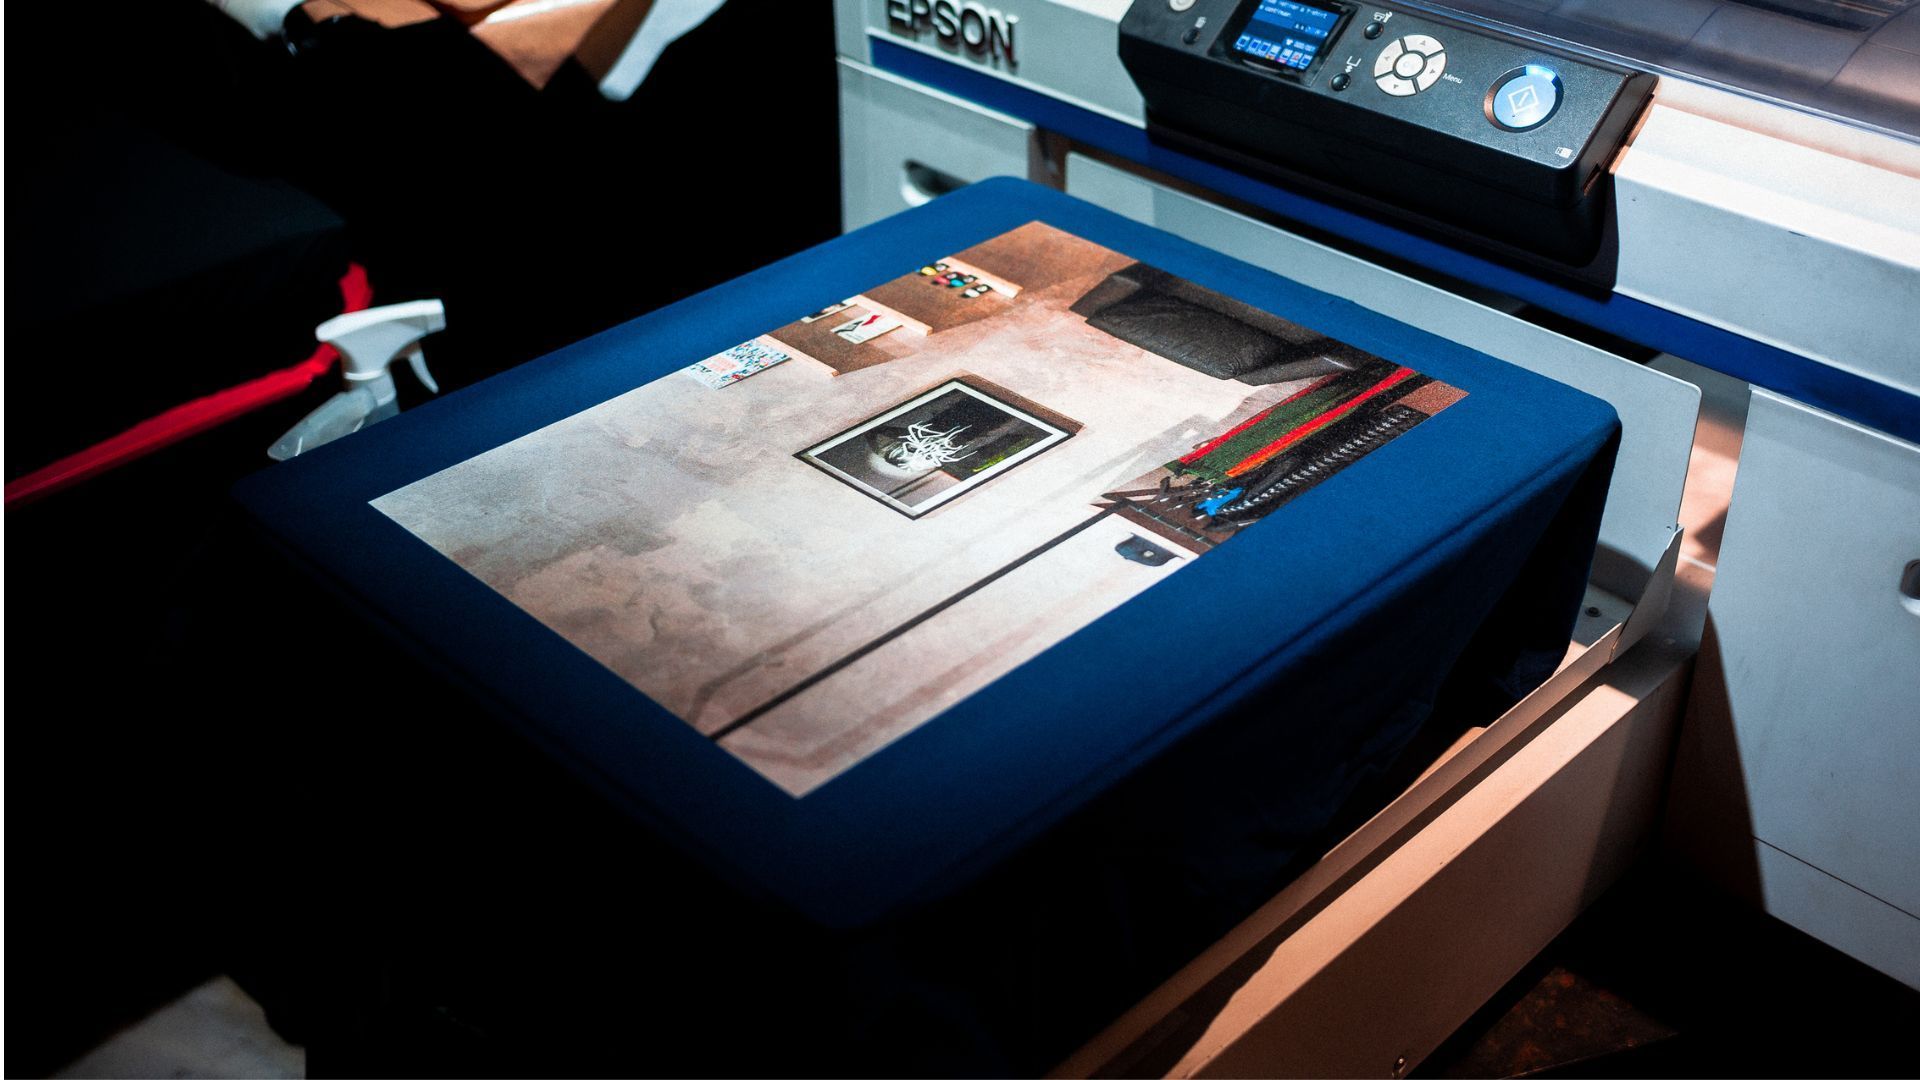
Regularly changing the ink in your HP printer is essential for maintaining print quality and preventing clogged printheads. In this article, we will guide you through the steps to change the ink in your HP printer, ensuring smooth printing and optimal performance.
Key Takeaways
- Regular ink changes improve print quality.
- Changing ink cartridges prevents clogged printheads.
- Check ink levels before replacing the cartridge.
- Remove the old ink cartridge carefully.
- Test the printer after ink replacement.
Why is it important to change ink in an HP printer regularly?
The impact of regular ink changes on print quality is significant. Regularly changing the ink in your HP printer is crucial for maintaining high print quality. Fresh ink ensures that your prints come out clear, vibrant, and free from streaks or smudges. Over time, ink can dry out or become depleted, leading to faded or distorted prints. By regularly replacing the ink cartridges, you can ensure that your printer is always using optimal ink levels for producing the best possible prints.
In addition to improving print quality, regular ink changes also help to prevent clogged printheads. When ink sits idle for extended periods, it can dry up and clog the printhead nozzles, leading to poor print quality, including missing or distorted lines. By changing the ink regularly, you can keep the ink flowing smoothly through the printhead and prevent clogs from occurring.
Preventing clogged printheads with regular ink changes
Regularly changing the ink in your HP printer is not only important for maintaining print quality, but it also helps prevent clogged printheads. Clogged printheads can lead to streaks, smudges, and uneven printing, resulting in poor printouts. By regularly changing the ink, you ensure that the ink flows smoothly through the printheads, preventing any blockages or buildup.
To prevent clogged printheads, follow these steps:
- Checking ink levels before replacing the cartridge:
Before changing the ink cartridge, check the ink levels to determine if it needs to be replaced. This will help you avoid unnecessary cartridge changes. For a wide range of printer options, visit Cartridge World's printer selection.
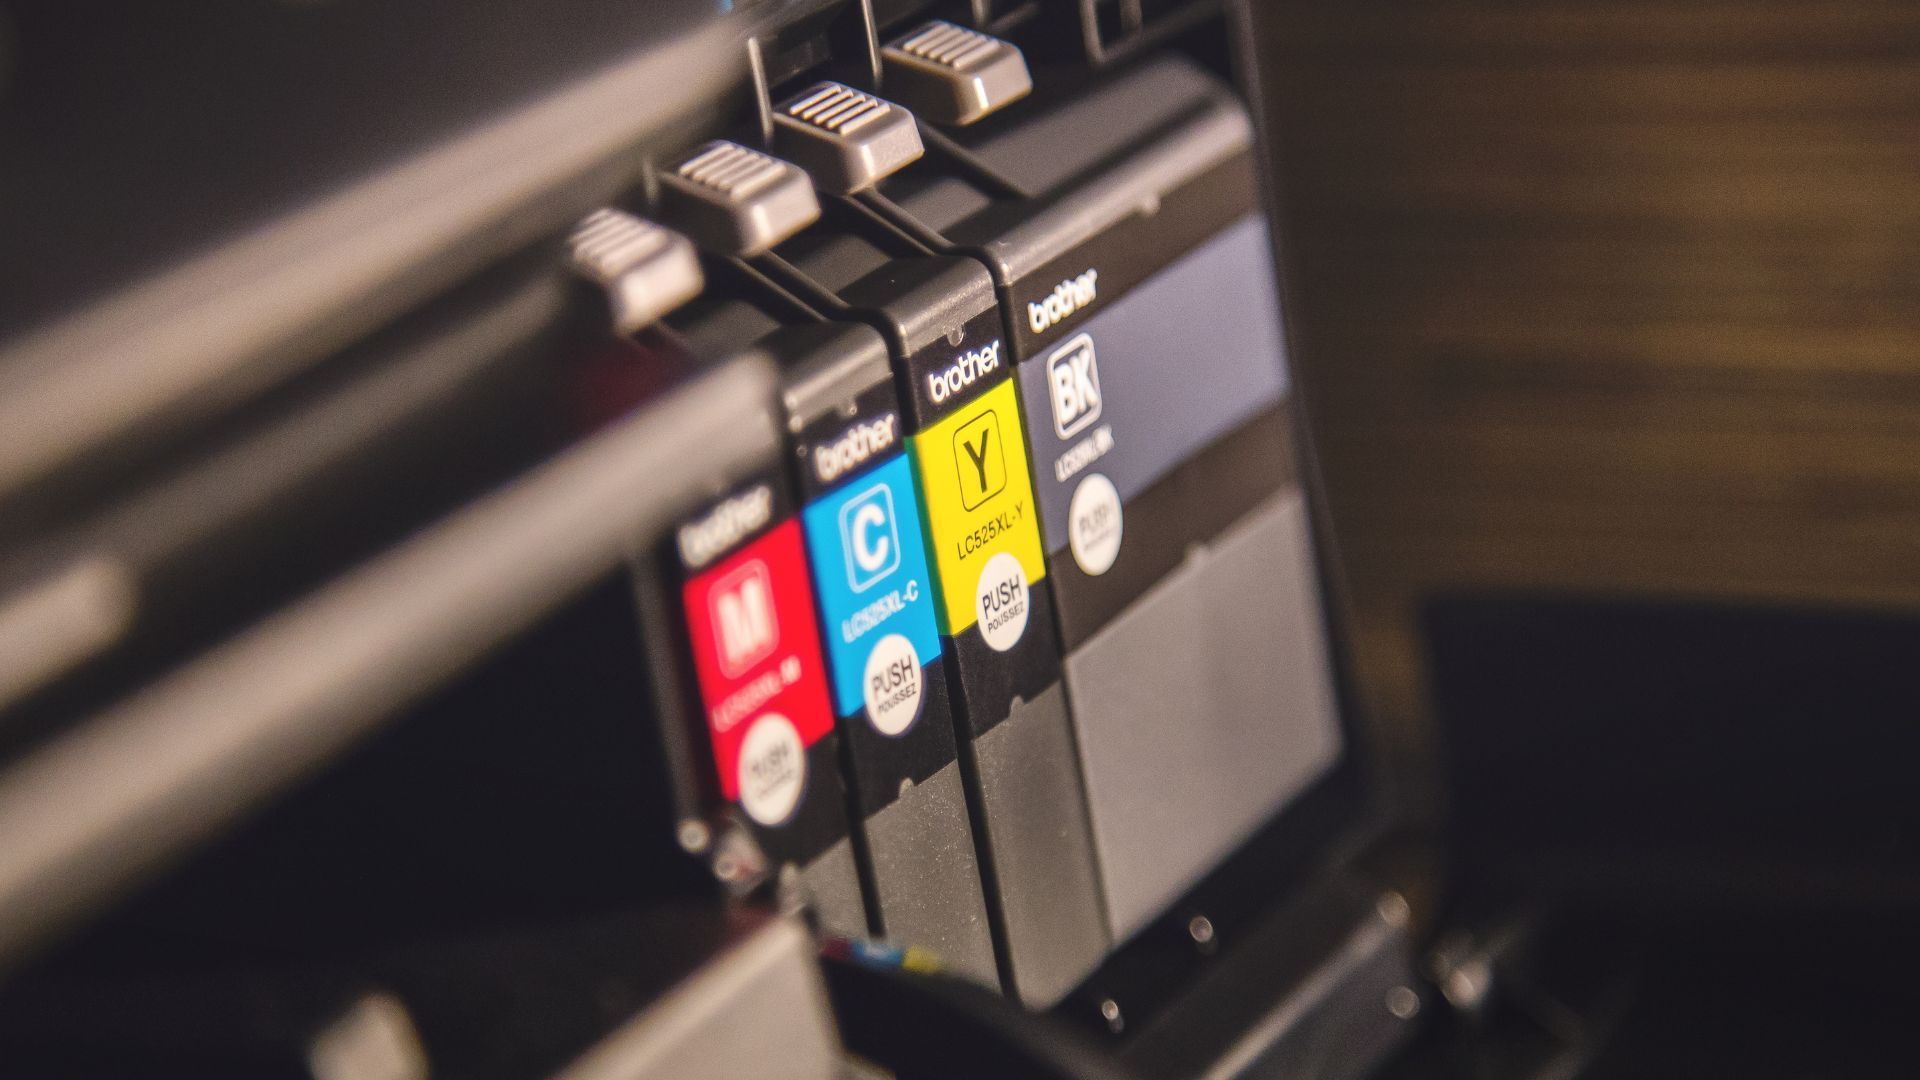
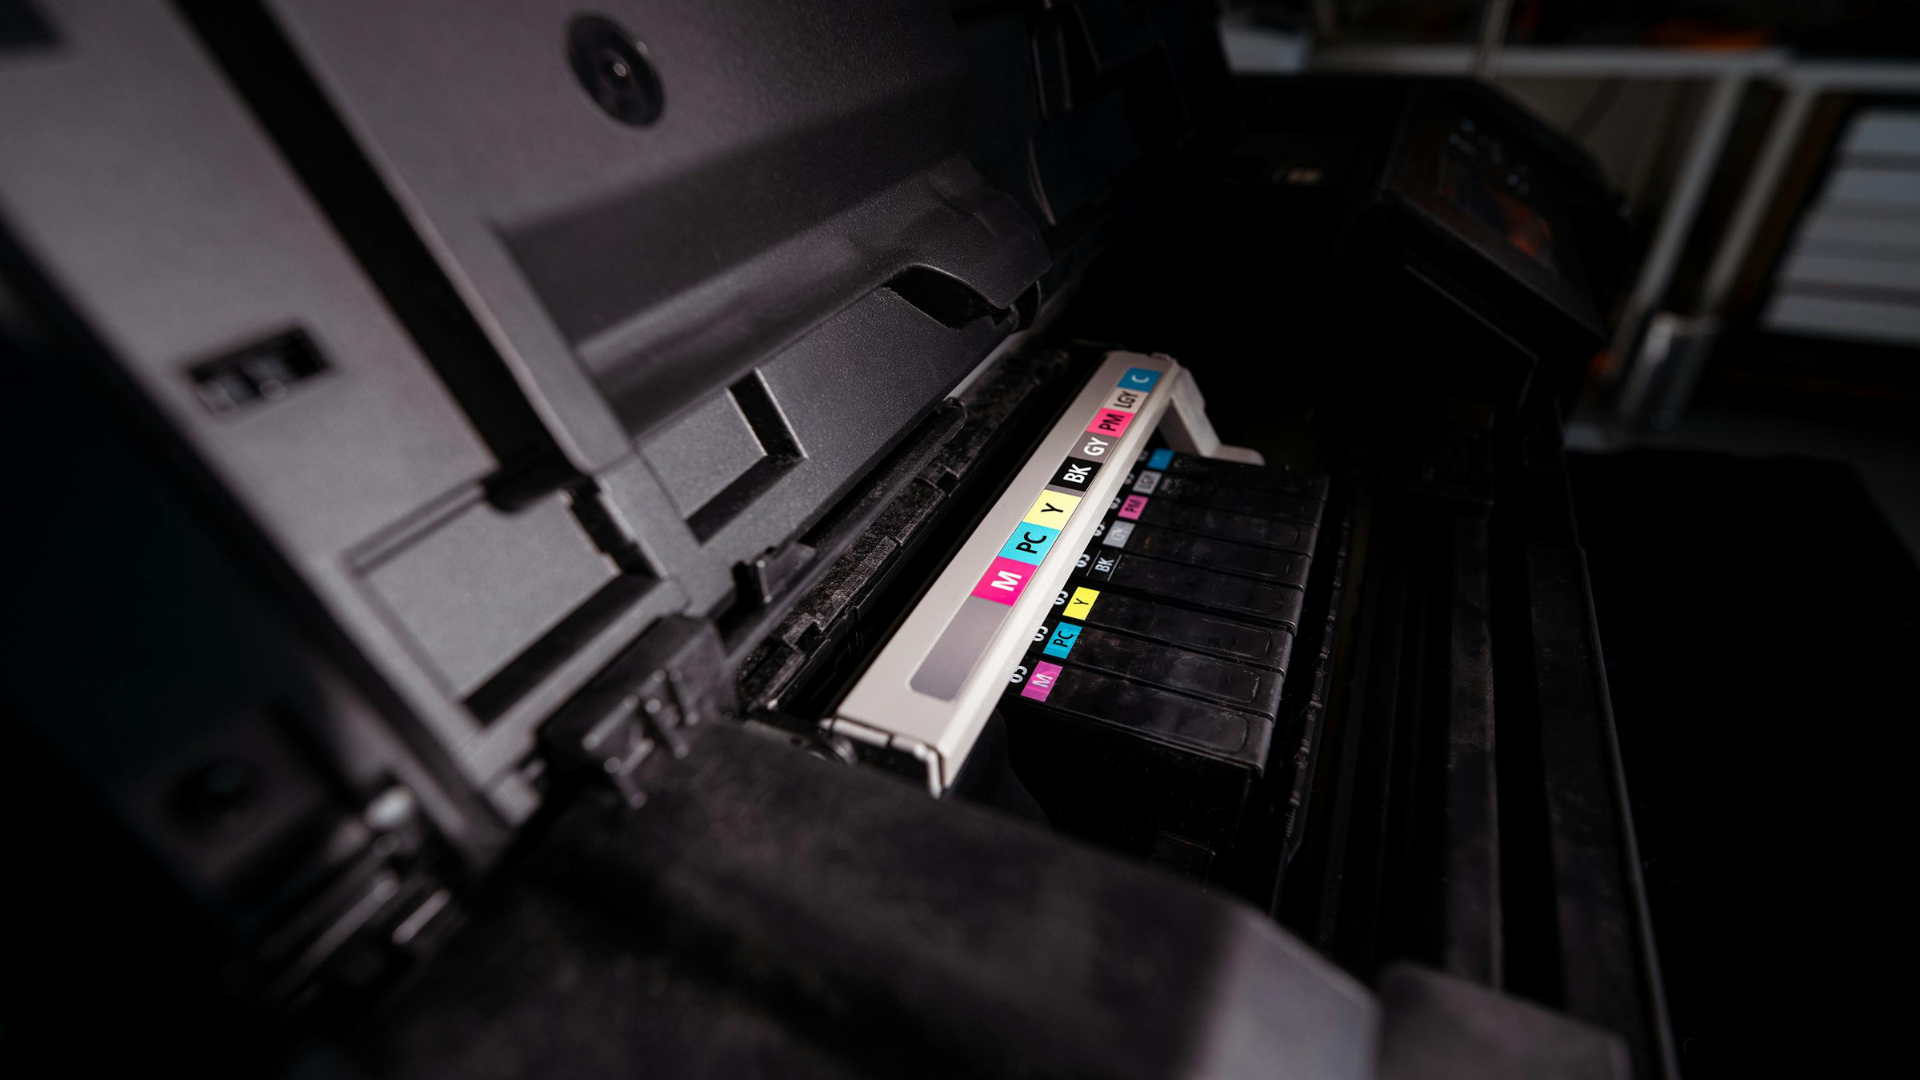
- Removing the old ink cartridge:
Carefully remove the old ink cartridge from the printer. Refer to the printer's manual for specific instructions on how to remove the cartridge. Dispose of the old cartridge properly according to local regulations. Note: Be careful not to touch the electrical contacts or nozzles on the cartridge, as this can cause print quality issues.
- Installing the new ink cartridge:
Insert the new ink cartridge into the printer, following the instructions provided in the printer's manual. Push the ink cartridge forward until it clicks into place. Close the ink cartridge access door. Remember to handle the ink cartridge carefully and avoid touching the contacts or nozzles. This ensures proper functioning and prevents damage to the cartridge or printer. For businesses, printer leasing options from Cartridge World can be a cost-effective solution.
Testing the printer after ink replacement:
After replacing the ink cartridge in your HP printer, it is important to test the printer to ensure that the new cartridge is functioning properly. Print a test page to verify that the printer can produce a clear and accurate printout. Check for any issues such as streaks, smudges, or missing colors. These issues may indicate a problem with the new ink cartridge or the printer's printhead.
Addressing Common Issues: HP Printer Repair Tips
While regularly changing the ink in your HP printer is crucial for maintaining print quality, sometimes you might encounter issues that require further attention. Understanding basic HP printer repair can save you time and ensure your printer functions effectively. Whether it’s a mechanical issue or a software glitch, knowing how to troubleshoot can prevent extended downtime.
When to Consider HP Printer Repair:
- Persistent Print Quality Issues: If you’ve replaced the ink but still notice smudges, streaks, or uneven printing, there might be an underlying issue with your printer.
- Error Messages: Sometimes, your printer may display error messages related to the printhead or other critical components.
- Mechanical Noises: Unusual sounds during printing could indicate a mechanical problem that needs immediate attention.
Steps for Basic Troubleshooting:
- Check for Obvious Blockages: Open the printer and visually inspect for any paper jams or debris that could obstruct the printing mechanism.
- Clean the Printhead: Use the printer’s built-in function to clean the printhead. This can often resolve issues related to print quality.
- Update Printer Software: Ensure your printer’s firmware is up-to-date, as updates can fix bugs and improve performance.
When to Seek Professional HP Printer Repair:
If basic troubleshooting doesn’t resolve the issue, it may be time to consult a professional. Look for certified "HP printer repair" services to ensure your printer is handled by experts. Professional technicians can provide more in-depth diagnostics and repairs, from replacing worn-out parts to addressing complex mechanical failures. Regular maintenance checks by professionals can also extend the life of your printer and enhance its performance.
By integrating simple repair and troubleshooting steps with regular maintenance like ink replacement, you ensure your HP printer remains in top working condition, reducing the likelihood of serious malfunctions.
Conclusion
Regularly changing the ink in your HP printer is crucial for maintaining print quality and preventing clogged printheads. By following the simple steps of checking ink levels, removing the old cartridge, installing a new one, and testing the printer, you can ensure smooth printing operations. Don't underestimate the impact of regular ink changes on the longevity and performance of your printer. For more detailed information on maintaining your printer and ink cartridges, check out this detailed guide on how to refill ink cartridges.
Frequently Asked Questions
Contact Us
Most Popular
Recommended For You