In today's digital age, having a reliable printer at home or in the office is essential for maintaining productivity and convenience. Whether it's printing important documents, cherished photos, or school assignments, a dependable printer like the Canon Pixma can be a game-changer. However, setting up a new printer can sometimes be daunting, especially if you need to be tech-savvy.
This comprehensive guide is designed to walk you through the step-by-step process of setting up your Canon Pixma printer, ensuring you get it up and running smoothly. From unboxing to connecting it to your devices and performing initial test prints, we'll cover everything you need to know. Along the way, we'll also discuss where you can find replacement ink cartridges, such as at
Cartridge World, and provide tips on when to seek professional printer service repair if needed. Let's get started on making your printing experience as seamless as possible.
Unboxing and Initial Setup
Unboxing Your Canon Pixma Printer
The unboxing process is straightforward when you first receive your Canon Pixma printer. Inside the box, you will typically find the following items: the printer, a power cord, a set of ink cartridges, a USB cable (if included), a CD containing printer drivers and software, and a quick start guide.
Different models of the Canon Pixma series might have slight variations in the included accessories, so it's essential to check the model-specific documentation. For instance, some models might have additional ink cartridges or a different paper tray type. Carefully remove all packaging materials and ensure you have all the necessary components before proceeding to the next steps. Setting up your workspace and keeping the quick start guide handy will help streamline the initial setup process and get your printer ready for use quickly.
Physical Setup
Assembling Your Canon Pixma Printer
Position the Printer: Choose a stable, flat surface near a power outlet and your computer. Ensure there's enough space around the printer for ventilation and easy access.
Attach the Power Cord:
Plug one end of the power cord into the back of the printer and the other into a wall outlet. Press the power button to turn on the printer.
Install the Paper Tray: Slide the paper tray into place according to the instructions in the quick start guide. Ensure it clicks securely.
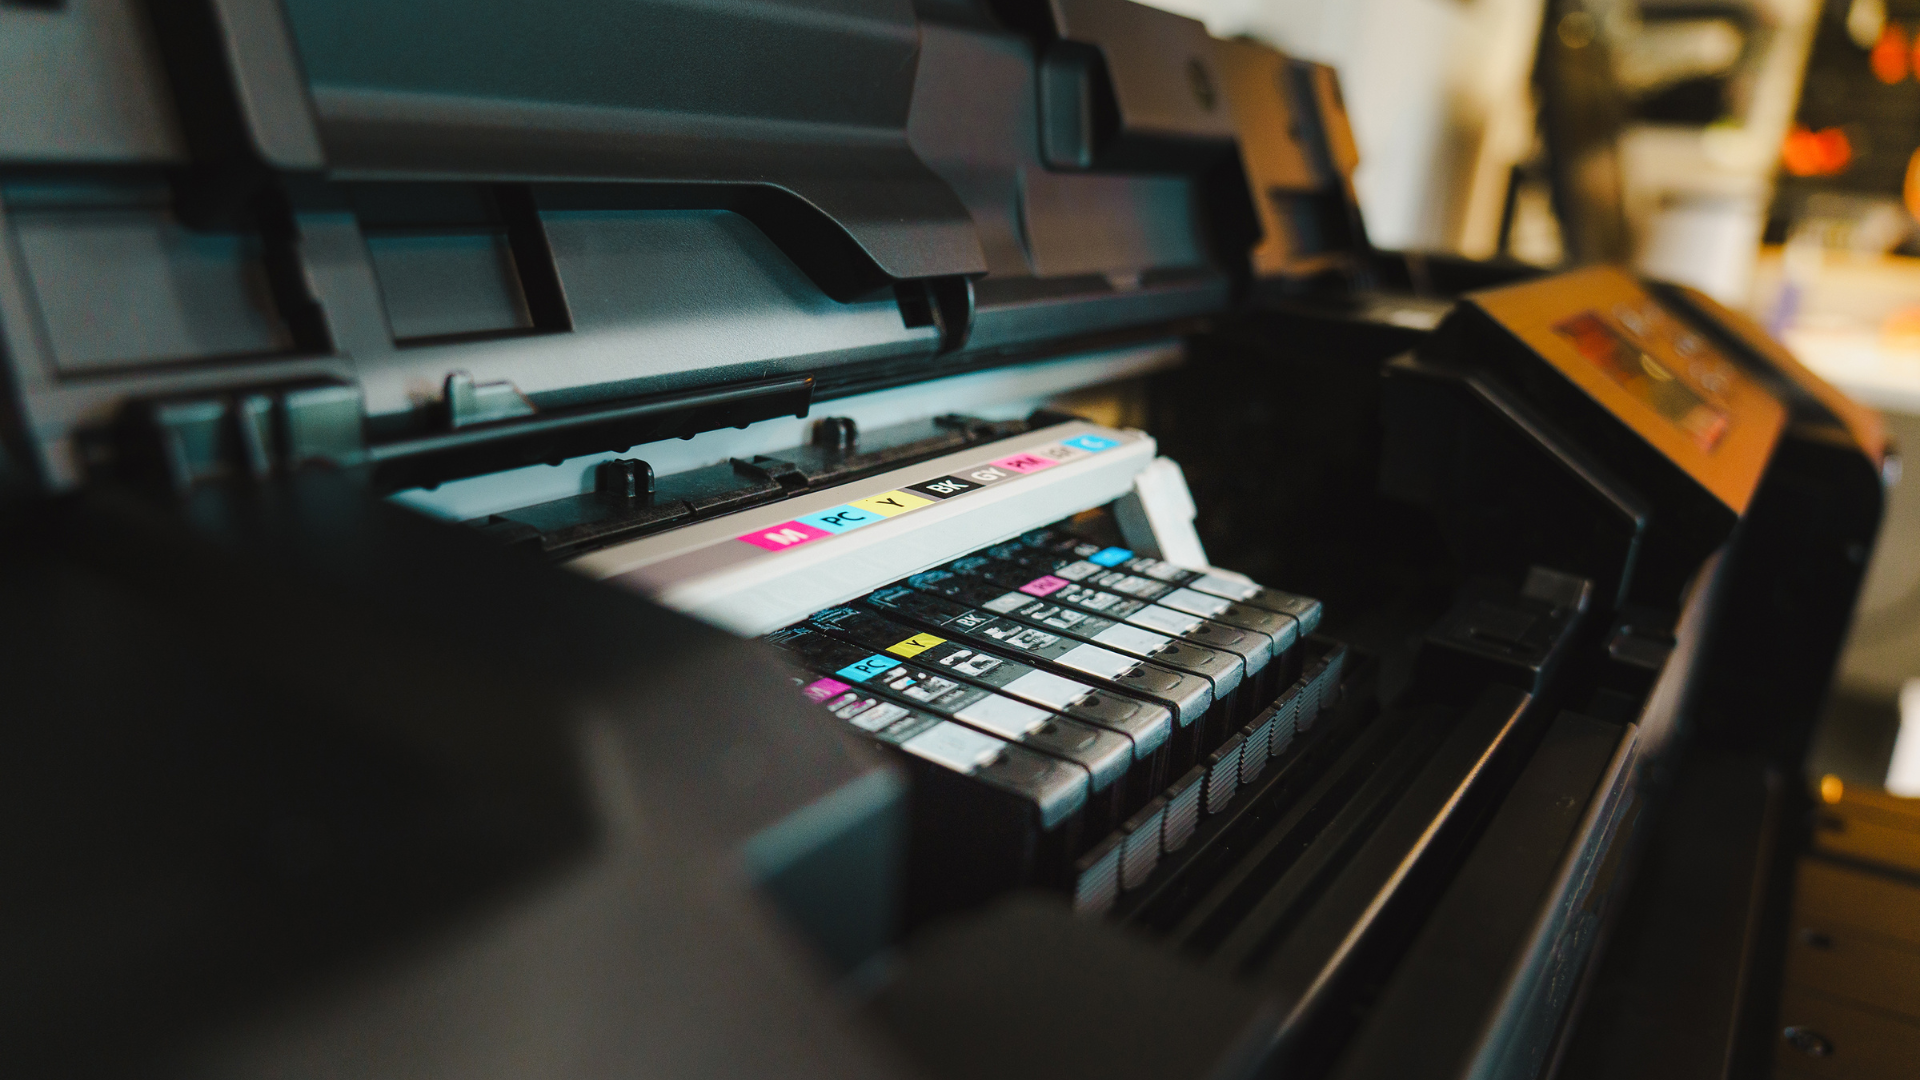
Insert the Ink Cartridges: Open the front cover and wait for the cartridge holder to move to the center. Unpack the ink cartridges, remove the protective tape, and insert them into the corresponding slots. Press down until they click into place.
Load Paper: Adjust the paper guides in the tray, load a stack of paper, and snugly fit the guides against the edges of the paper.
By following these steps and placing your printer in a well-ventilated, accessible area, you ensure optimal performance and easy maintenance.
Connecting the Printer
Connecting to Power and Initial Start-Up
- Plugging in the Printer: Locate the power cord and plug one end into the back of your Canon Pixma printer and the other into a wall outlet.
- Turning On the Printer: Press the power button, usually on the printer's top or front. Wait for the printer to complete its initial start-up routine, which may take a few minutes.
Connecting to Your Computer
Wired Connection
Using the USB Cable: If your printer includes a USB cable, connect one end to the printer and the other to your computer's USB port.
- Driver Installation: If prompted, allow your computer to install the necessary drivers automatically. Suppose it doesn't use the installation CD or download the drivers from the Canon website.
Wireless Connection
- Preparing for Wi-Fi Setup: Ensure your Wi-Fi network is active and you have the network name (SSID) and password ready.
- Accessing Wi-Fi Settings: On the printer’s control panel, navigate to the Wi-Fi setup menu in the settings or network settings.
- Selecting Wi-Fi Network: Choose the option to set up a wireless connection, then select your Wi-Fi network from the list of available networks.
- Entering Wi-Fi Password: Enter your Wi-Fi password using the printer’s control panel. Confirm and wait for the connection to be established.
- Installing Drivers: On your computer, go to the Canon website, download the necessary drivers, and follow the on-screen instructions to complete the installation.
- Troubleshooting: If the printer doesn't connect, ensure you enter the correct Wi-Fi password and that the printer is within range of your router. Restarting the printer and router can also resolve connectivity issues.
These steps will ensure a smooth connection process, whether using a wired USB connection or setting up wirelessly.
Installing Printer Drivers and Software
Installing Drivers from the Canon Website
- Visit the Canon Website: Open your web browser and go to the official Canon website.
- Find Your Printer Model: Use the search bar or navigate through the printer section to locate your specific Canon Pixma model.
- Download Drivers: Visit your printer’s support page, find the drivers and software section, and download the latest driver package compatible with your operating system.
- Run the Installer: Open the downloaded file and follow the on-screen instructions to install the drivers and any additional software.
- Complete Installation: Restart your computer if prompted. Your Canon Pixma printer should now be ready for use.
- Update Drivers Regularly: Keeping your printer drivers up to date ensures optimal performance and compatibility with your computer's operating system. Check the Canon website regularly for updates.
Using the Installation CD
- Insert the CD: Place the installation CD that came with your printer into your computer’s CD/DVD drive.
- Run the Setup Program: The installation program automatically starts. If it doesn’t, open the CD drive folder and double-click the setup file.
- Follow On-Screen Instructions: Follow the prompts to install the necessary drivers and software. This process typically involves agreeing to the terms of service, selecting the installation type, and waiting for the installation to complete.
- Complete Installation: Once the installation is finished, restart your computer if necessary. Your printer should now be set up and ready to use.
Either method ensures your printer’s drivers are installed correctly to avoid functionality issues. For the best experience, always opt for the latest drivers from the Canon website.
Loading Paper and Ink Cartridges
Loading Paper
- Open the Paper Tray: Locate and pull out the paper tray from the bottom or rear of your Canon Pixma printer.
- Adjust Paper Guides: Slide the paper guides to match your paper size.
- Load Paper: Place a stack of paper into the tray, ensuring the print side faces down and the edges are aligned. For specialty papers like photo paper, ensure the glossy side faces down.
- Set Paper Guides: Adjust the guides snugly against the edges of the paper to keep it in place and prevent jams.
- Close the Tray: Push the tray back into the printer securely.
Use the recommended paper types for optimal results and avoid overloading the tray.
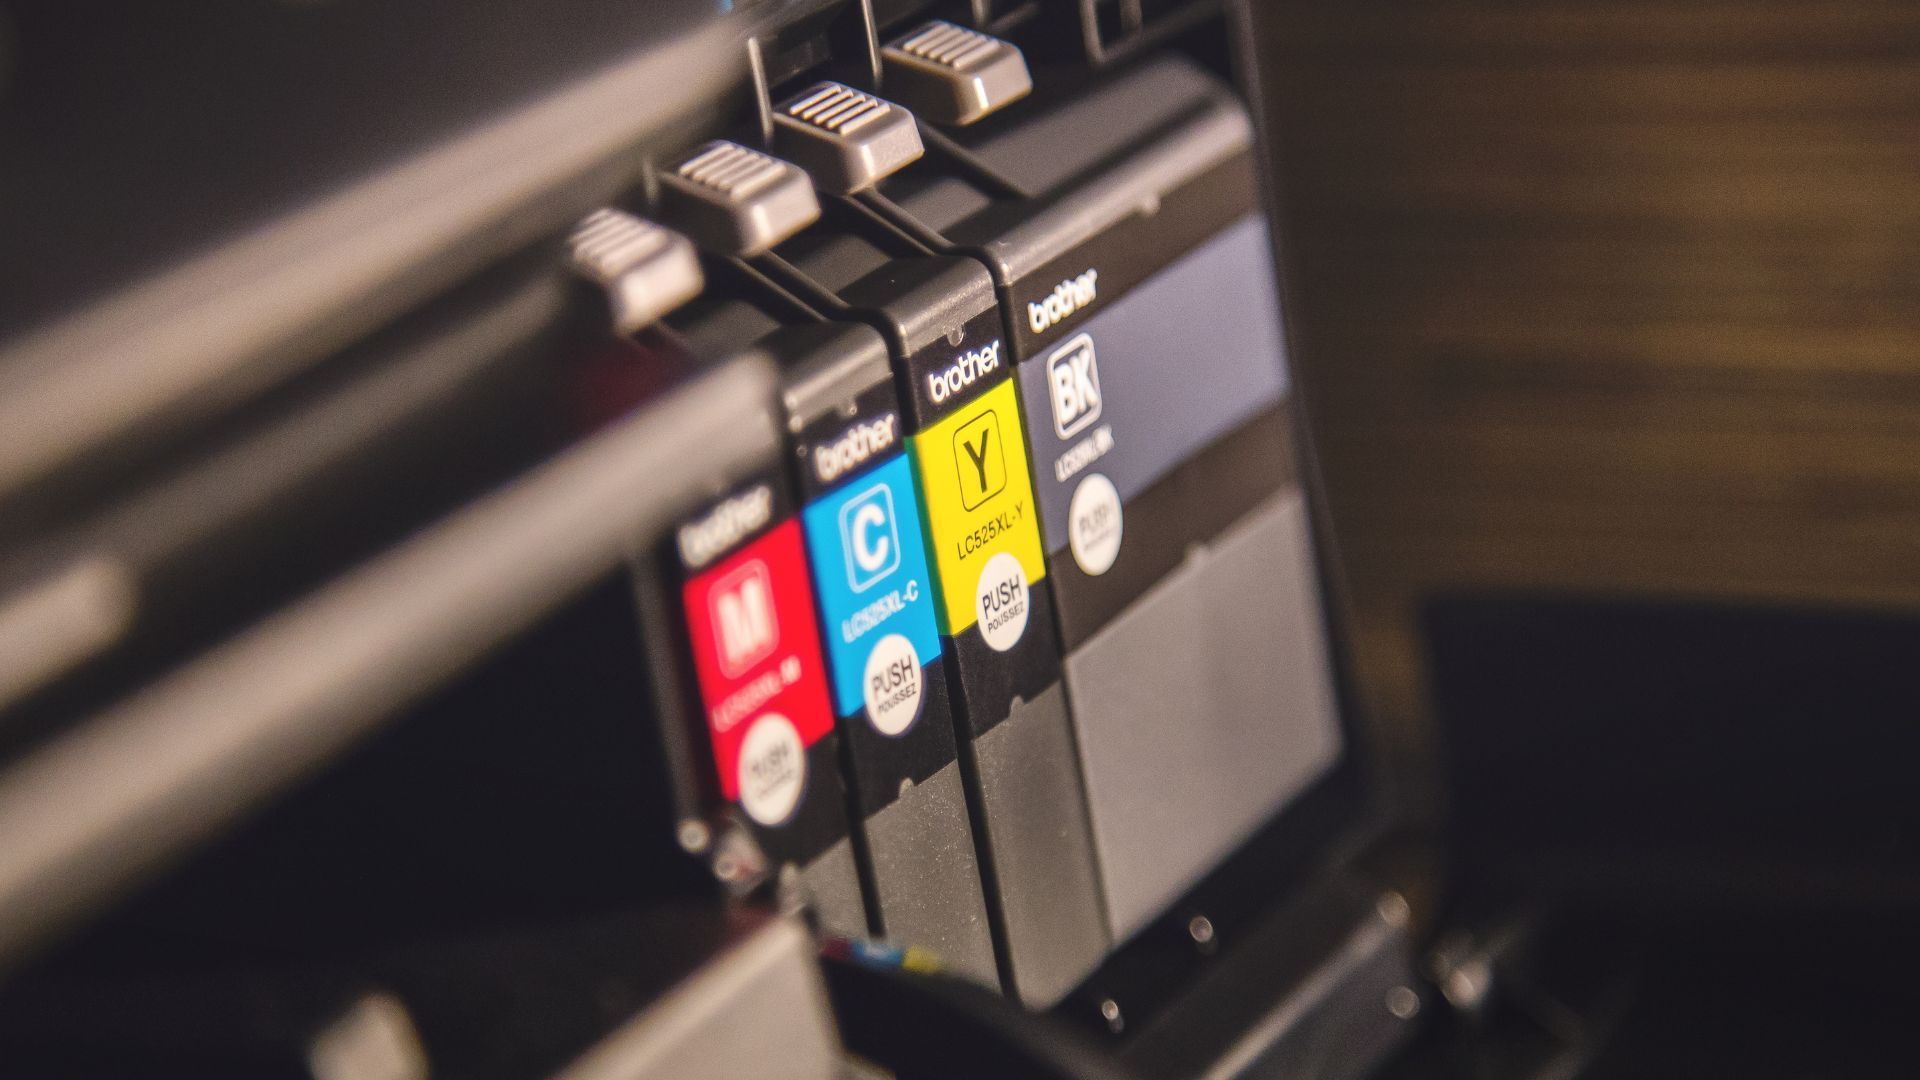
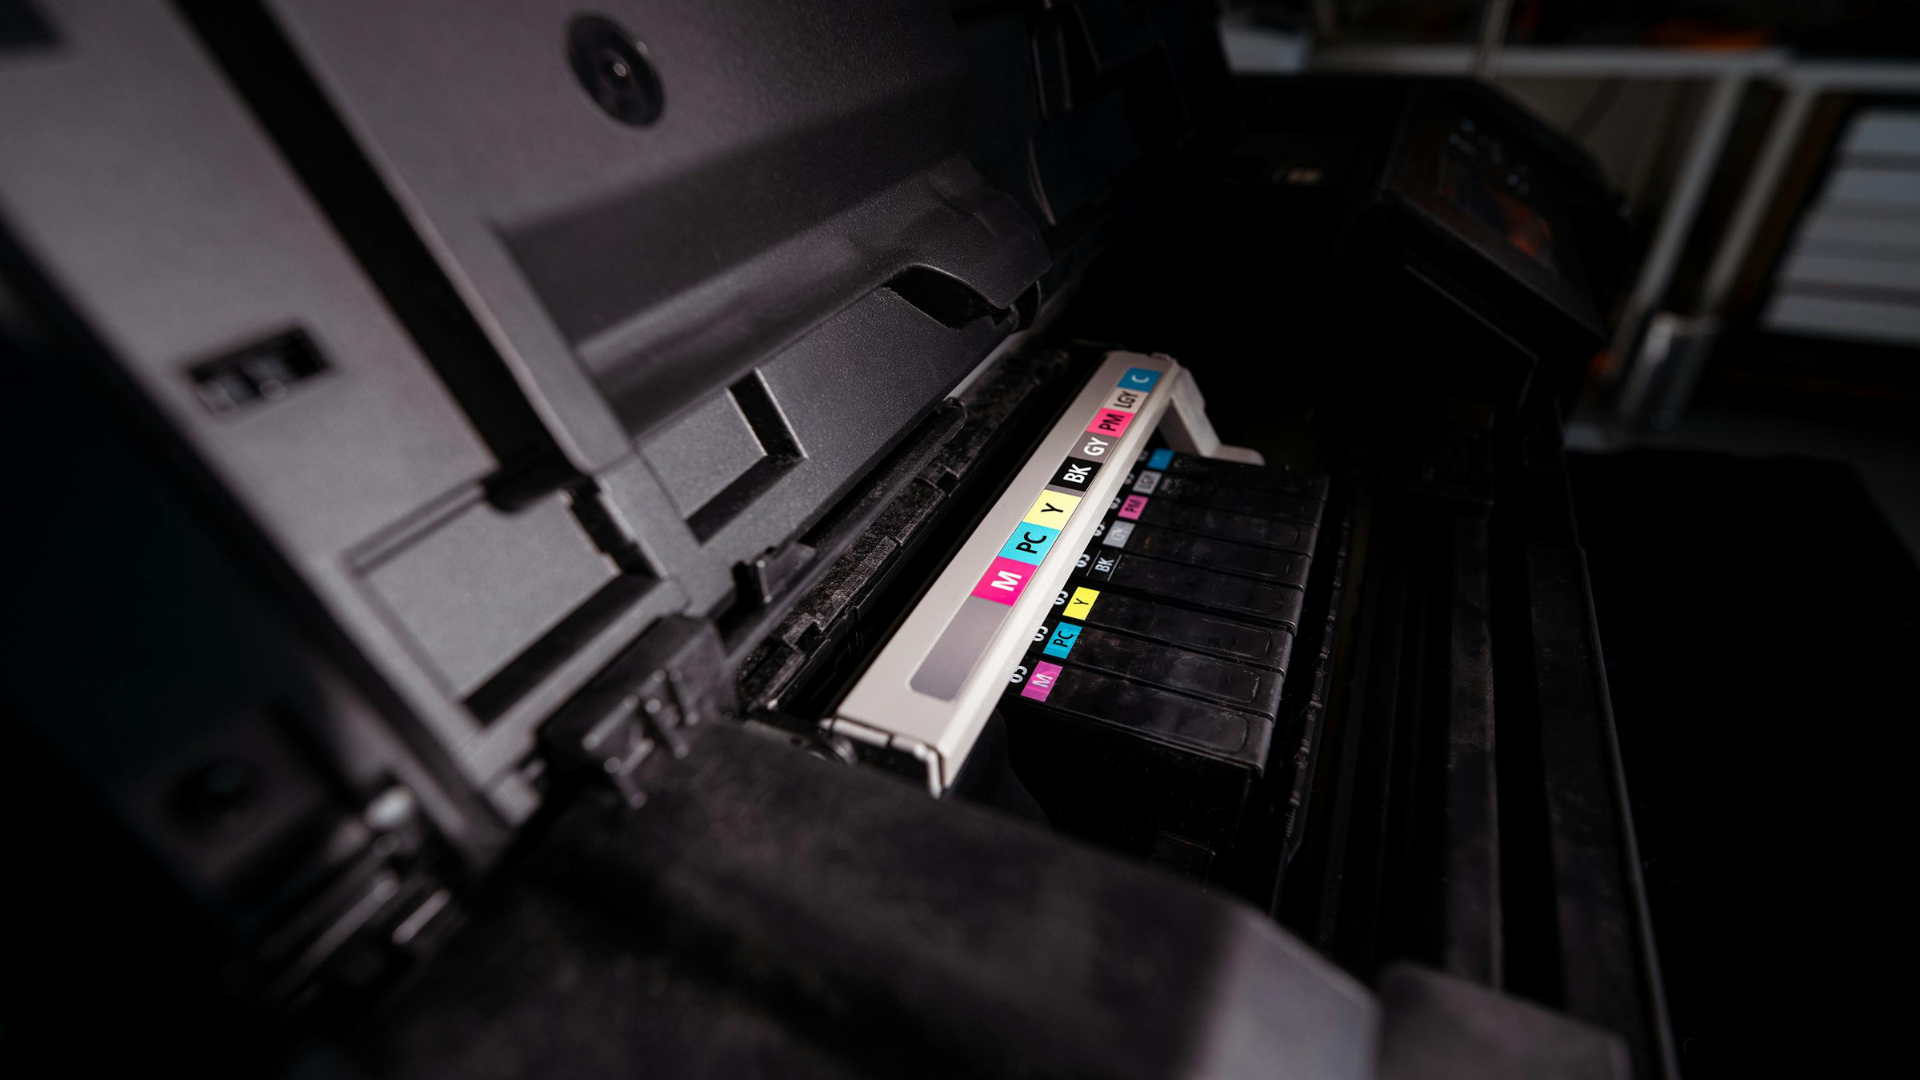
Installing Ink Cartridges
To access the Ink Cartridge Holder, Open the printer's front cover and wait for the cartridge holder to move to the center.
- Unpack Cartridges: Unpack the new ink cartridges and remove any protective tapes and covers.
- Insert Cartridges: Insert each cartridge into its corresponding slot, matching the color codes. Press down until you hear a click.
- Close the Cover: Close the front cover and wait for the printer to recognize the new cartridges.
For replacement ink cartridges, consider visiting Cartridge World for quality options that ensure consistent print quality.
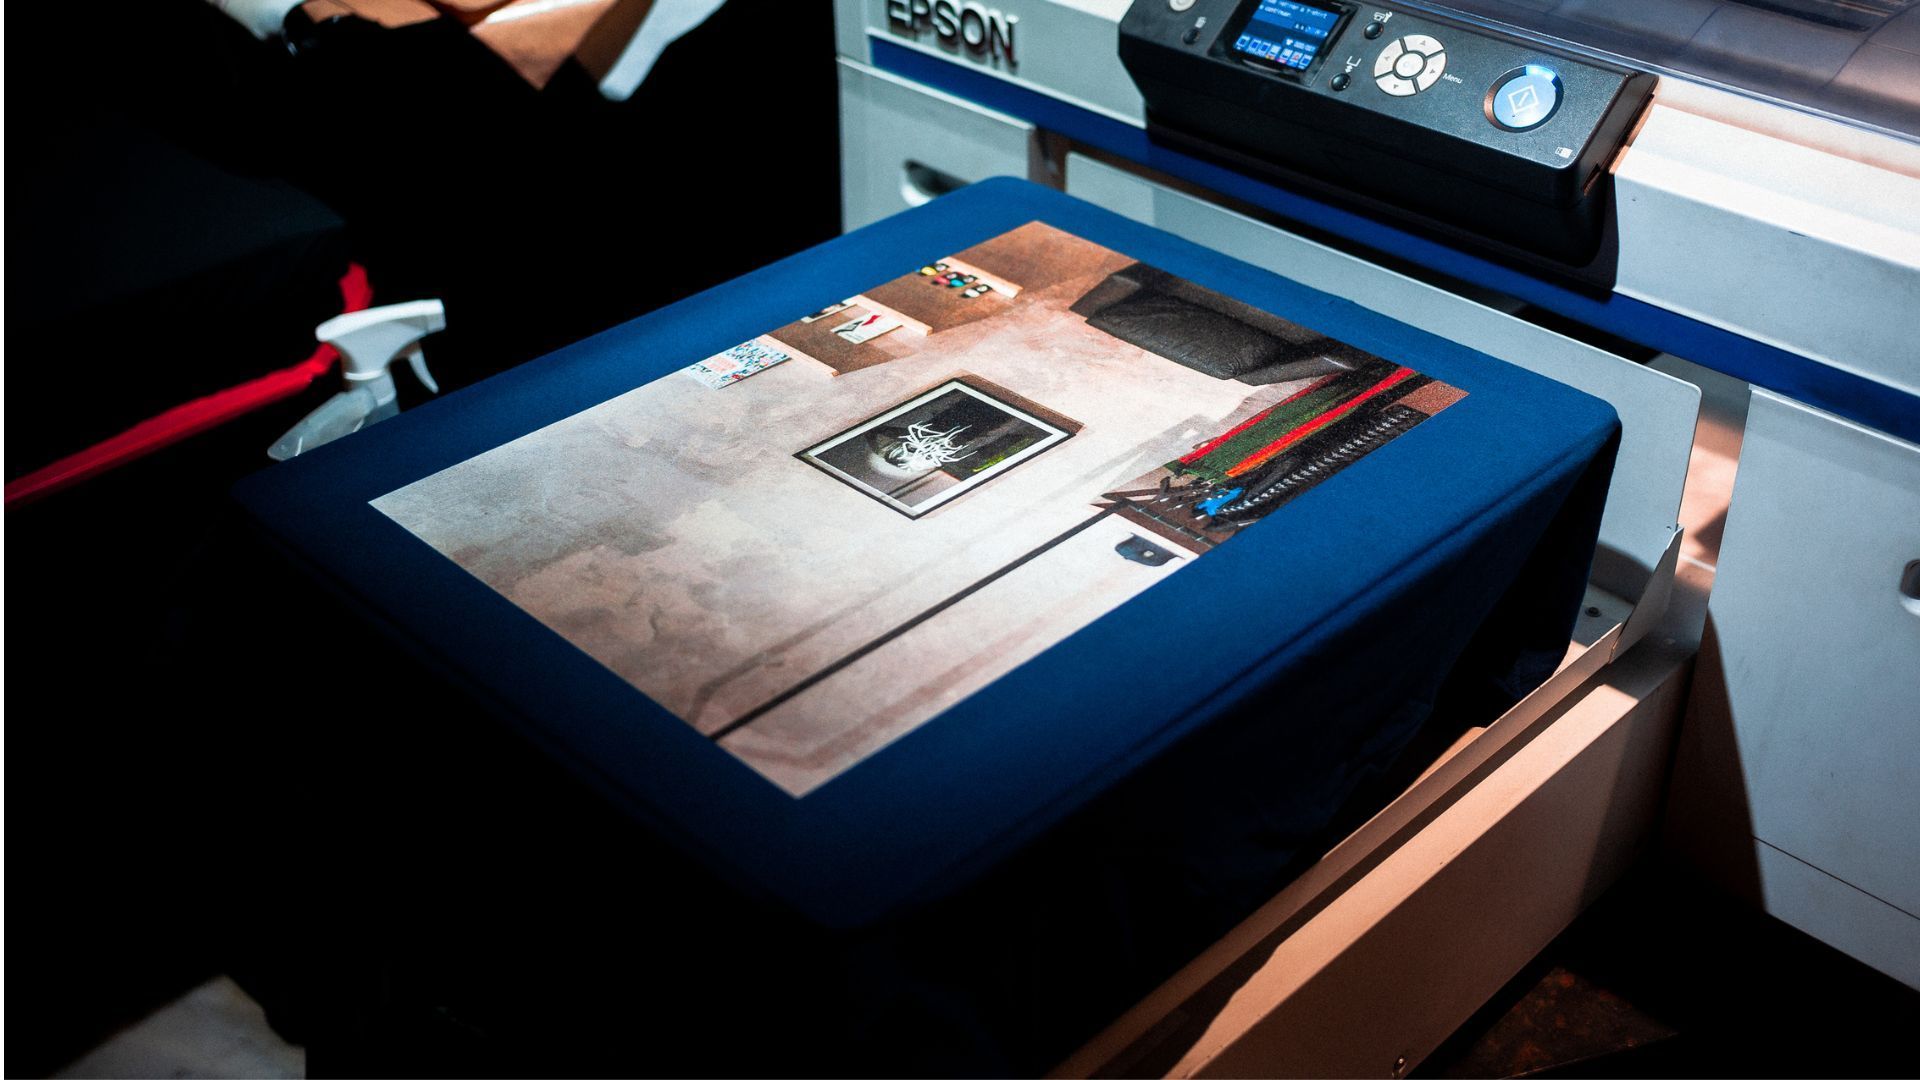
Performing a Test Print
Printing a Test Page
- Access Printer Settings: On your computer, open the Control Panel (Windows) or System Preferences (Mac), then navigate to the “Devices and Printers” or “Printers & Scanners” section.
- Select Your Printer: Find and select your Canon Pixma printer from the list of installed printers.
- Print a Test Page: Right-click on the printer icon and choose “Print a Test Page” (Windows) or click the “Options & Supplies” button and then “Utility” to find the test print option (Mac).
- Check the Print: Once the test page is printed, examine it for alignment issues, color discrepancies, or print quality problems.
Troubleshooting Tips
- No Print Output: Ensure the printer is turned on and connected to your computer or network. Check for any error messages on the printer's display.
- Poor Print Quality: Clean the printhead using the printer's maintenance menu if the test page shows streaks or faded colors. Ensure that the ink cartridges are correctly installed and have sufficient ink.
- Paper Jams: Open the printer and carefully remove any jammed paper. Ensure the paper is loaded correctly in the tray.
Performing a test print confirms that your Canon Pixma printer is set up correctly and ready for use. If issues persist, refer to the troubleshooting tips or consult the user manual for more detailed guidance.
Troubleshooting Common Issues
Printer Not Responding
Common causes for a non-responsive printer include loose connections, outdated drivers, or software conflicts. Ensure the printer is correctly plugged into a power source and connected to your computer or network. Restart both the printer and your computer. Update the printer drivers from the Canon website and check for any error messages on the printer’s display.
Paper Jams
To clear a paper jam, turn off the printer and unplug it. Open the front and rear covers and gently remove any jammed paper. Ensure no scraps are left inside. Reload the paper correctly and adjust the paper guides. Prevent future jams by avoiding overloading the tray and using the recommended paper type.
Print Quality Issues
If you notice streaks, faded prints, or color discrepancies, clean the printhead using the printer's maintenance menu. Ensure the ink cartridges are correctly installed and have enough ink. Perform a nozzle check to identify any clogged nozzles and run the cleaning cycle if necessary. For persistent print quality problems, consider seeking professional printer service repair.
Addressing these common issues, you can maintain your Canon Pixma printer’s performance and longevity.
Maintenance and Support
Routine Maintenance Tips
Perform regular maintenance to ensure the longevity of your Canon Pixma printer. Clean the exterior with a soft, lint-free cloth to remove dust. Periodically clean the printhead using the printer’s maintenance menu to prevent clogs and maintain print quality. Replace ink cartridges promptly to avoid running out of ink mid-print. Store the printer in a cool, dry place away from direct sunlight and heat sources to prevent damage to internal components.
When to Seek Professional Help
If your printer consistently shows error messages, experiences frequent paper jams, or produces poor print quality despite troubleshooting, it may be time to contact a professional. Persistent issues like hardware malfunctions or complex software problems often require expert intervention. Local "Cartridge World" stores can assist with ink and toner issues and offer repair services. Seeking professional help ensures that your printer remains in optimal working condition and extends its lifespan.
Regular maintenance and knowing when to seek professional support will help keep your Canon Pixma printer running smoothly for years.
Conclusion
Setting up your Canon Pixma printer is straightforward with these critical steps: unbox and assemble the printer, connect it to power, install the drivers and software, load paper and ink cartridges, and perform a test print. Regular maintenance and knowing when to seek professional help are crucial for optimal performance. This guide will ensure a smooth setup process and a reliable printing experience. If you encounter any issues, don't hesitate to seek professional assistance. Feel free to leave comments or questions below the blog post for additional support.
Frequently Asked Questions
Contact Us
Most Popular
Recommended For You